Stein Snacker
Solo Project, 2022
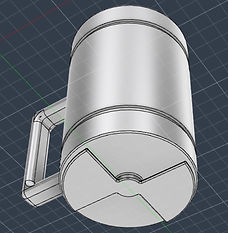
The given brief for this project was to create an eating/drinking vessel, combining the use of both traditional making and new making methods. My project was a beer stein with a mini detachable snack compartment that can be slotted on the stein's side, allowing users to hold both snacks and beer on one hand, freeing up their other hand and only having to detach the snack compartment when drinking.
.jpg)
I picked metal casting and 3D printing as the traditional and new making methods respectively, as they were both making methods I had not had the opportunity of working with before at this point. Since my Liquids to Solids project also involved metal casting, this was a good way for me to kill two birds with one stone. I went through several iterations of what the Stein Snacker could look like, drawing up designs using CAD on Fusion360. However, the following design iterations were discarded as the food compartments would either risk slip out, be impractical to cast, or simply not achieve the goal of letting users have a free hand while accessing the snack compartment.


.jpg)
.jpg)
.jpg)
My final design consists of a beer stein with a food compartment that can be slotted on the stein through the metal plates on each side. Since the food compartment is held up by the stein, the stein can be held in one hand, allowing the user to have a free hand to pick up food from the compartment. While the stein has metal plates on three sides, each stein is meant to only carry one food compartment to avoid spillage when the user is drinking from the stein. The additional metal plates simply allow options for more customization should the user prefer the food compartment to be slotted elsewhere on the stein.
.png)
.png)
.jpeg)
.jpeg)
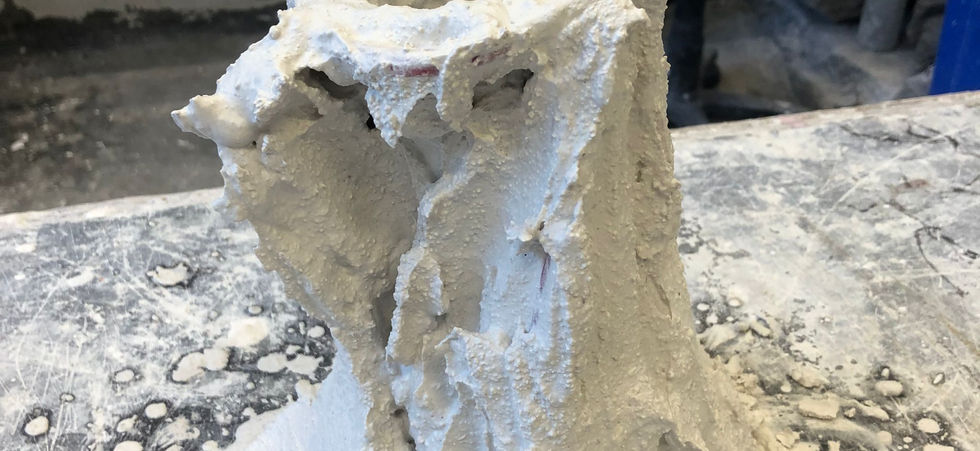
To make the stein via metal casting, I first 3D printed the stein, then made a wax tree for the print. The red wax strips act as air vents connecting to the 3D print to the wax cup, allowing air to escape from the mold, preventing air pockets in the mold that expand and burst when the mold is placed in the kiln. Next, the 3D print and wax tree were completely covered in plaster before sent to the kiln. The plaster molds were placed into the clay pit, where molten aluminium was then poured into the molds. After leaving the aluminium to set overnight, I sanded off and polished any rough edges and surfaces on the stein. Small metal plates were then TIG welded onto the front of the stein, allowing the snack compartment to slot onto the stein.
_edited.jpg)
_edited.jpg)
_edited.jpg)
.png)


